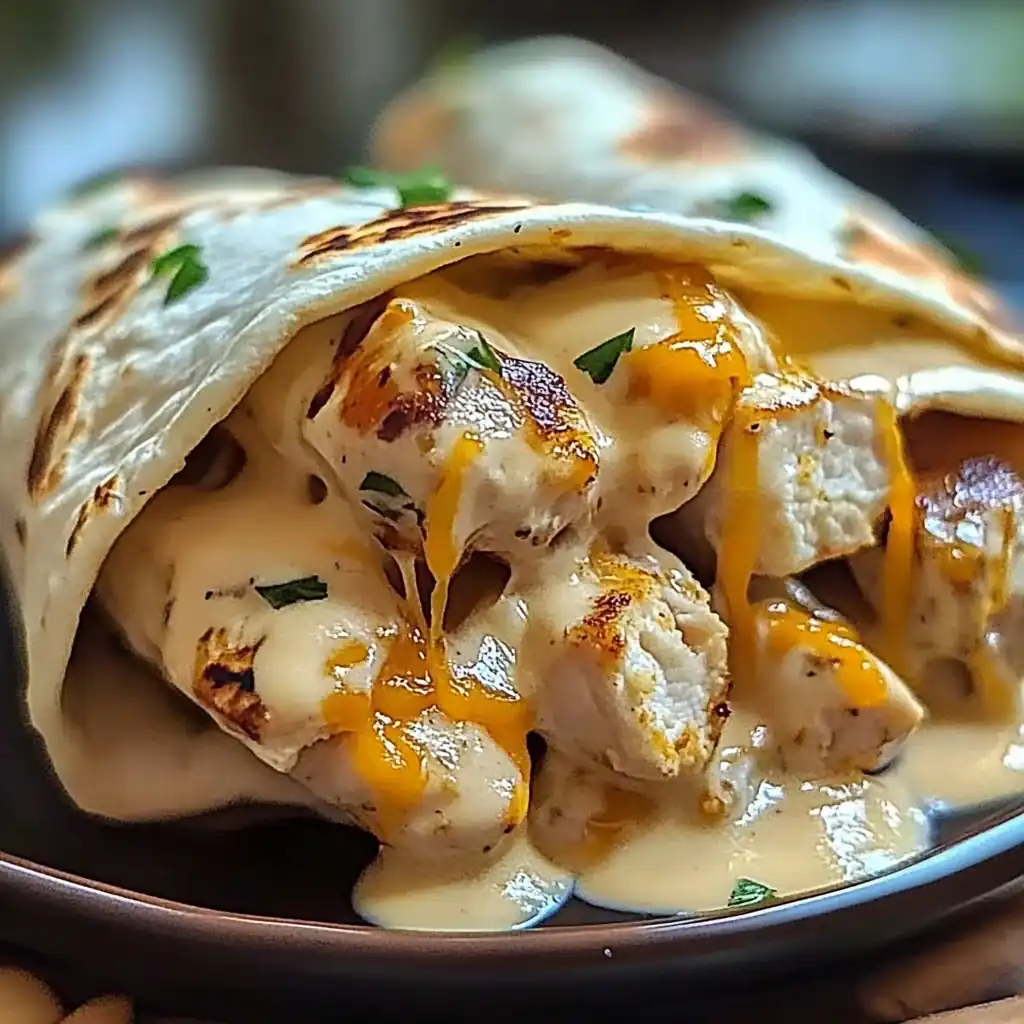
The Magic of a Mid-Week Melt |
Imagine a rainy Tuesday evening in late October when the air turns crisp and the house feels a bit too cold. You arrive home exhausted, craving something that feels like a warm hug but doesn’t require hours of standing over a hot stove. This is exactly when these cheesy chicken wraps shine, turning a chaotic kitchen into a sanctuary of melted cheese and savory aromas.
There is something profoundly comforting about the sound of a tortilla sizzling in a buttered pan. While the rain drums against the windowpane, the golden-brown crust of the wrap promises a satisfying crunch. It is a simple meal, yet it carries the emotional weight of a gourmet feast because it satisfies every craving for salt, cream, and protein.
- ●Ready in under 30 minutes from start to finish.
- ●Budget-friendly ingredients found in any local grocery store.
- ●The perfect balance of crunchy exterior and gooey interior.
- ●Highly customizable based on whatever vegetables are in your crisper.
- ●A kid-approved meal that actually gets the whole family to the table.
Essential Ingredients |
Chicken Breast provides the hearty, lean protein base that carries the seasoning. Substitute with rotisserie chicken for an even faster experience.
Sharp Cheddar brings a bold, tangy punch that cuts through the richness. Try Pepper Jack if you prefer a spicy kick.
Mozzarella ensures that iconic, stretchy cheese pull we all love. Provolone works beautifully as a mild alternative.
Flour Tortillas act as the flexible vessel for all the goodness. Corn tortillas offer a gluten-free option, though they are less pliable.
Garlic Powder adds a deep, aromatic savory layer without the bitterness of burnt fresh garlic. Onion powder is a great substitute here.
Smoked Paprika introduces a subtle woodsy warmth and a beautiful golden color. Cumin can be used for a more southwestern vibe.
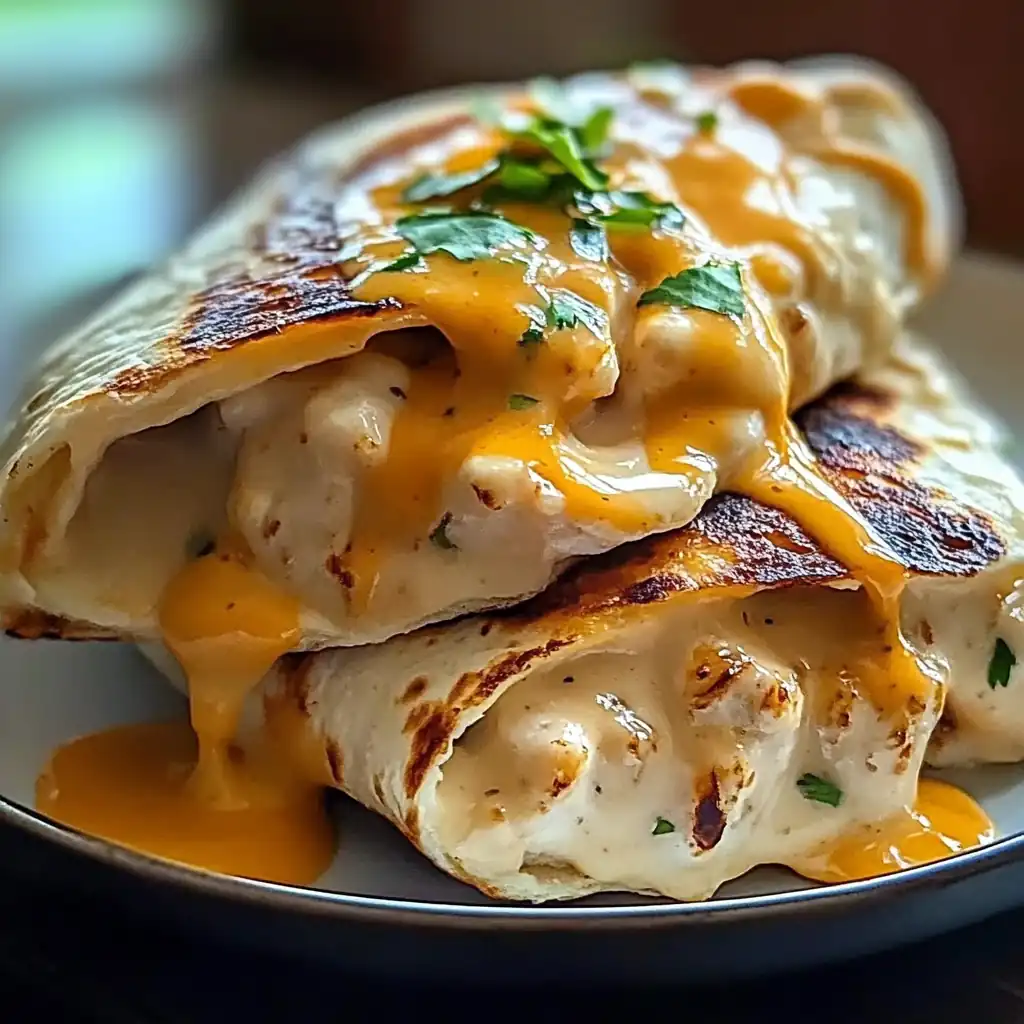 Let’s Make it Together |
- Dice the chicken into small, bite-sized cubes. Sear the meat in a hot skillet over medium-high heat until golden brown. Pro tip: Do not overcrowd the pan or the chicken will steam instead of brown.
- Sprinkle the garlic powder, smoked paprika, salt, and pepper over the chicken. Stir constantly to ensure the spices toast without burning.
- Remove the chicken from the heat and set it aside. This prevents the meat from overcooking while you prepare the wraps.
- Lay your tortillas flat on a clean surface. Divide a generous portion of the cooked chicken and a blend of cheddar and mozzarella in the center. Pro tip: Leave about two inches of space around the edges to ensure a tight seal.
- Fold the sides inward and roll the tortilla tightly. Press the seam down firmly with your fingers to lock the filling in.
- Heat a tablespoon of butter in the skillet. Toast the wraps for 2-3 minutes per side until a deep gold color appears. Pro tip: Use a heavy spatula to press down on the wrap, forcing the cheese to melt faster.
Avoid overfilling your tortillas or they will burst during the toasting phase.
Always pat your chicken dry with paper towels before seasoning for a better sear.
Using a non-stick pan is essential to prevent the tortilla from tearing.
Warm your tortillas in the microwave for ten seconds before rolling to prevent cracking.
Ensure your cheese is freshly shredded for a much smoother melt than pre-bagged versions.
Perfecting the Cooking Process |
Temperature control is the secret to a wrap that doesn’t feel soggy. You want your pan at approximately 375°F (190°C). If the pan is too cool, the tortilla absorbs the butter and becomes greasy. If it is too hot, the exterior burns before the internal cheese reaches the melting point of 150°F.
Timing is equally critical for the chicken. Searing small cubes for 5-7 minutes ensures the interior remains juicy while the exterior develops a Maillard reaction. This chemical process creates those complex, savory flavors that define a professional-grade wrap. Overcooking the meat leads to a rubbery texture that ruins the contrast with the soft cheese.
Add Your Touch |
Freshness can be added by sliding a handful of ba thinly sliced red onions inside the wrap before folding. The heat from the toasted tortilla will slightly wilt the greens, adding a layer of nutritional value and a pop of color.
Sauces are where you can truly express yourself. A swipe of chipotle mayo or a drizzle of honey mustard inside the wrap transforms the flavor profile from classic comfort to a zesty fusion. Experiment with avocado slices for a creamy, buttery finish.
Storing & Reheating |
Store any leftovers in an airtight container in the refrigerator for up to three days. Wrap them individually in parchment paper to prevent the tortillas from drying out or sticking together.
Reheat the wraps in a dry skillet over medium heat to restore the crunch. Avoid the microwave if possible, as it often makes the tortilla chewy and the cheese overly oily.
1Use a mixture of hard and soft cheeses for the best structural integrity.
2Deglaze your chicken pan with a splash of water to capture the browned bits.
3Roll the wraps as tightly as possible to prevent cheese leaks.
4Butter the outside of the tortilla, not the pan, for an even gold crust.
5Let the chicken rest for two minutes before wrapping to lock in the juices.
FAQ |
- ●Q: Can I make these wraps using frozen chicken?A: Yes, you can, but you must thaw the chicken completely before dicing and cooking. Cooking frozen chicken directly in the pan releases excess moisture, which will steam the meat and prevent you from achieving that crucial golden-brown sear.
- ●Q: Which tortillas work best for this recipe?A: Flour tortillas are the gold standard here because they have the elasticity required to fold without breaking. While corn tortillas are delicious, they tend to crack unless you steam them first, and they don’t hold the melted cheese quite as effectively.
- ●Q: How do I stop the cheese from leaking out the sides?A: The trick is to keep the cheese centered and use the folding technique. Fold the two sides in first, then roll from the bottom up. This creates a double barrier that traps the molten cheese inside the wrap during the toasting process.
- ●Q: Can I prepare the filling in advance for meal prep?A: Absolutely. You can cook the chicken and shred the cheese up to four days in advance. Store them in separate containers and only assemble and toast the wraps right before you are ready to eat to ensure maximum crispiness.

Irresistible Cheesy Chicken Wraps Recipe for Quick Meals
- Prep Time: 10 minutes
- Cook Time: 20 minutes
- Total Time: 30 minutes
- Yield: 4 servings 1x
- Category: Dinner
- Method: Searing/Toasting
- Cuisine: American
Description
A delicious, golden-brown toasted wrap filled with seasoned juicy chicken and a melted blend of cheddar and mozzarella cheese.
Ingredients
- 2 large chicken breasts, diced
- 1 cup shredded sharp cheddar
- 1 cup shredded mozzarella
- 4 large flour tortillas
- 1 tsp garlic powder
- 1 tsp smoked paprika
- Salt and pepper to taste
- 2 tbsp butter
Instructions
- Dice chicken into small cubes and sear in a skillet over medium-high heat until golden.
- Season chicken with garlic powder, smoked paprika, salt, and pepper.
- Remove chicken from pan and set aside.
- Place cheese and chicken in the center of flour tortillas.
- Fold the sides in and roll the tortillas tightly.
- Melt butter in a skillet and toast wraps for 2-3 minutes per side until golden brown.


