The Only Caramel Apple Guide You Will Ever Need |
Forget everything you know about those sad, sliding puddles of sugar you bought at a carnival. I am declaring this the definitive authority on the subject because I have spent years failing so you do not have to. My obsession began in my grandmother’s chaotic kitchen in Vermont, where she treated sugar like a volatile chemical compound and insisted that the secret to a sticking candy was all in the wrist and the heat.
There is a specific, visceral joy in biting through a layer of salty, buttery caramel into a crisp, tart apple that makes your teeth ache in the best way possible. While you are here, you might also adore the Decadent Caramel Apple Pie Bars Easy Fall Dessert Recipe if you prefer your fruit baked into a buttery crust. Trust me, once you master this glossy, golden coating, you will never go back to store-bought versions again.
- ●The caramel clings to the apple instead of sliding off like a melting glacier.
- ●You control the salt balance, ensuring it is a sophisticated sweet-and-salty treat.
- ●It uses a simple few-ingredient base that you likely already have in your pantry.
- ●The texture is perfectly chewy without being so hard it breaks a molar.
- ●It is a fantastic activity for kids who enjoy getting sticky and chaotic.
Essential Ingredients |
Granny Smith Apples: These provide a vibrant, neon-green hue and a sharp, acidic crunch that cuts through the sugar. Use about 6 large, firm apples.
Unsalted Butter: This adds a rich, creamy yellow gold color and a silky mouthfeel. Use 1/2 cup, cubed for even melting.
Brown Sugar: This gives the caramel its deep, molasses-like aroma and a dark mahogany shade. Use 2 cups of packed light brown sugar.
Heavy Cream: This creates a smooth, opaque texture and prevents the sugar from crystallizing. Use 1 cup of full-fat cream.
Corn Syrup: This acts as the insurance policy for your texture, providing a professional, glossy sheen. Use 1/4 cup of light corn syrup.
Sea Salt: These tiny white crystals spark the flavor and balance the overwhelming sweetness. Use 1/2 teaspoon of fine sea salt.
 Let’s Make it Together |
- Wash and dry your apples thoroughly using a lint-free towel. Any moisture left on the skin will cause the caramel to slide right off, and you will end up with a sticky mess on your counter.
- Insert a sturdy wooden skewer or thick popsicle stick into the top of each apple. Push it in about halfway so the apple remains stable and does not spin while you are dipping.
- Combine the brown sugar, butter, corn syrup, and salt in a heavy-bottomed saucepan over medium heat. Stir constantly until the butter is melted and the sugar has dissolved into a bubbling, brown lake.
- Pour in the heavy cream and increase the heat to medium-high, bringing the mixture to a steady boil. Watch for the bubbles to become thick and slow; this indicates the water is evaporating and the sugar is concentrating.
- Cook the mixture for exactly 8 to 10 minutes without stirring too aggressively. You are looking for a deep amber color and a consistency that coats the back of a spoon effortlessly.
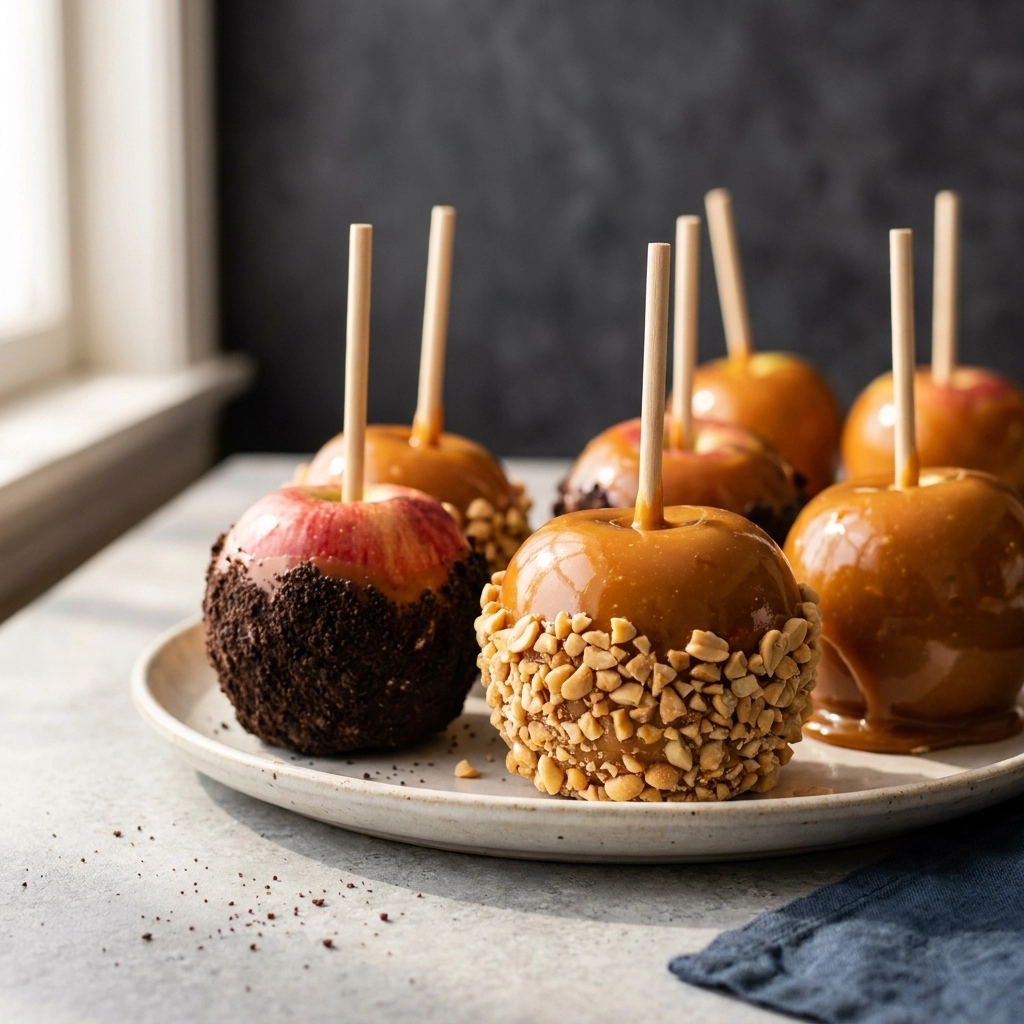
- Carefully dip each apple into the molten gold, swirling it around to ensure full coverage. Lift the apple and give it a gentle twist to let the excess caramel drip off before placing it on parchment paper.
It is pure magic in a bite.
Vinegar is your secret weapon; rubbing a tiny bit of lemon juice or vinegar on the apple skin helps the caramel grip better.
Never use a thin plastic straw as a handle because they will melt or snap under the weight of the apple.
Avoid stirring the caramel with a whisk if you can; a silicone spatula is better to prevent introducing too many air bubbles.
Do not overcook the sugar or it will turn bitter and taste like a burnt matchstick.
Always use parchment paper, never foil, as the caramel will bond to the metal and rip the apple skin.
Perfecting the Cooking Process |
The science of a perfect caramel apple lies entirely in the temperature of the sugar. To achieve a coating that stays put, you must hit the “soft ball” stage, which typically occurs between 235°F and 245°F. If you stop too early, the caramel will be like syrup and slide off; if you go too far, it becomes a hard candy shell that is impossible to bite into without a chisel.
Timing is equally critical because the residual heat in the pan continues to cook the sugar even after you turn off the flame. This is why I suggest removing the pot from the heat just as it hits the 240°F mark. If you are looking for other ways to use these flavors, you can try the Foolproof Caramel Apple Cheesecake Bars Meal Prep Hero Of The Week for a more structured dessert.
To prevent crystallization—those annoying little sugar grains—the corn syrup acts as an interfering agent. It wraps around the sucrose molecules and prevents them from bonding back together into crystals. This ensures your caramel is as smooth as a mirror and as glossy as a luxury sports car.
Add Your Touch |
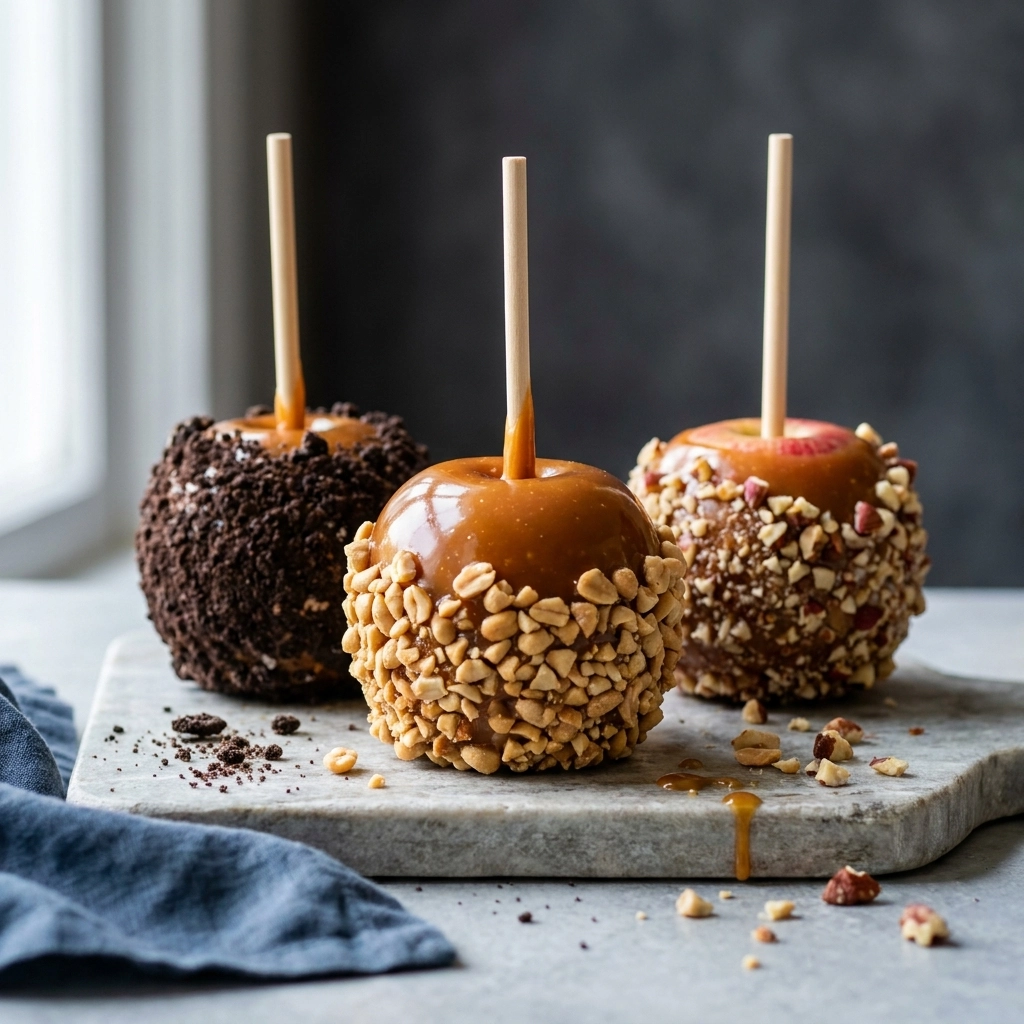
If you want to elevate these from “fairground snack” to “gourmet treat,” try rolling the wet caramel in toasted crushed pecans or a sprinkle of flaky Maldon salt. You can even drizzle a bit of melted dark chocolate over the top for a sophisticated contrast. If you enjoy this flavor profile, the Legendary Caramel Apple Cheesecake Bars Meal Prep Hero Of The Week offers a similar luxury experience.
For a dairy-free alternative, substitute the butter with a high-quality vegan butter stick and use coconut cream instead of heavy cream. While the flavor profile shifts slightly toward a coconut note, the structural integrity remains surprisingly intact. This pairs beautifully with a side of Caramel Apple Oatmeal Bake A Cozy Autumn Adventure Healthy Fall Breakfast Bake for a full autumn brunch.
Storing & Reheating |
Store your caramel apples in an airtight container in the refrigerator for up to one week. Keep them separated parchment paper so they do not fuse together into one giant, sugary apple-blob.
Do not use a microwave to reheat these, as the caramel will liquefy and run off the apple immediately. Instead, let them sit at room temperature for about 20 minutes before serving, or if you must, use a very low-power warming oven for 30 seconds. For a different take on the ingredients, consider the The Ultimate Gooey Caramel Apple Pie Bars Easy Fall Dessert Recipes
1Always use a heavy-bottomed pot to distribute heat evenly and avoid hot spots that burn the sugar.
2Chill your apples in the fridge for an hour before dipping to help the caramel set faster upon contact.
3If your caramel gets too thick, stir in one tablespoon of warm cream to loosen it up.
4Keep a bowl of warm water near your tools quickly, as hardened caramel is a nightmare to scrub.
5For a professional finish, use the Award Winning Caramel Apple Cheesecake Bars Meal Prep Hero Of The Week as a plating accompaniment.
FAQ |
- ●Q: Why does the caramel slide off my apples?
A: This usually happens for two reasons: moisture or temperature. If the apple skin is damp, the caramel cannot adhere. Additionally, if the sugar didn’t reach the 235-245°F range, it remains too fluid to stay on the fruit. - ●Q: Can I use red apples instead of Granny Smiths?
A: You absolutely can, but be warned that red apples are much sweeter and softer. The tartness of a Granny Smith provides a necessary balance to the heavy sugar of the caramel, and their firmer texture holds up better to the weight. - ●Q: How do I stop the caramel from crystallizing?
A: The corn syrup in this recipe is the secret. It prevents the sugar crystals from bonding. If you refuse to use corn syrup, you can use a tiny bit of lemon juice, though corn syrup provides a much more reliable, professional-grade gloss. - ●Q: Can I make these a day in advance?
A: Yes, you can make them up to 3-5 days in advance. Store them in the fridge to keep the apples crisp, but make sure they are well-spaced so they don’t stick to one another. Bring them to room temperature before eating for the best texture.

The Ultimate Guide to Homemade Caramel Apples
- Prep Time: 20 minutes
- Cook Time: 15 minutes
- Total Time: 35 minutes
- Yield: 6 apples 1x
- Category: Dessert
- Method: Stovetop
- Cuisine: American
Description
Crisp, tart Granny Smith apples coated in a thick, buttery, and salty caramel that actually stays on the apple. A classic autumn treat perfected for the home kitchen.
Ingredients
- 6 large Granny Smith apples
- 1/2 cup unsalted butter, cubed
- 2 cups packed light brown sugar
- 1 cup heavy cream
- 1/4 cup light corn syrup
- 1/2 tsp sea salt
- 6 wooden skewers
Instructions
- Wash and thoroughly dry 6 Granny Smith apples.
- Insert wooden skewers halfway into the top of each apple.
- In a heavy saucepan, combine brown sugar, butter, corn syrup, and salt over medium heat until butter melts.
- Stir in heavy cream and bring to a boil over medium-high heat.
- Boil for 8-10 minutes until the mixture reaches 235-245°F and turns deep amber.
- Dip apples into the caramel, swirl to coat, and let excess drip off.
- Place apples on parchment paper to set for 30 minutes.